|
|
|
Article ID: 114
Last updated: 30 Aug, 2011
|
|
|
|
Creating a mailing list
- Set up the 'New & e-mails' addon.
- Open the Content tab and click on the Mailing lists link.
- Click on the Add mailing lists button on the right.
- Fill in the following fields:
- Name - enter the mailing list name.
- From name - enter the name from which the e-mails will be sent.
- From email - enter the e-mail from which the e-mails will be sent.
- Reply to - enter the e-mail to which the replies will be sent to.
- Confirmation e-mail - choose an autoresponder for this mailing list (e.g. it can be sent to confirm subscriptions or unsubscriptions, etc.)
- Show at checkout - select if you would like to display the subscription block at checkout.
- Show on registration - select if you would like to display the subscription block at registration.
- Show in the "Mailing lists" box - select if you would like to display subscription to the mailing in a separate side box in the storefront.
- Status - select the desired mailing list status.
- Click on the Create button.
- The Mailing lists section will be displayed in the storefront and customers will be able to subscribe to the list.

To add subscribers to the mailing list:
- Open the Content tab and click on the Subscribers link.
- Click on the Extra link of the desired subscriber, new small section will be displayed. Select the Subscribed and Confirmed check boxes of the desired mailing list and click on the Save button.
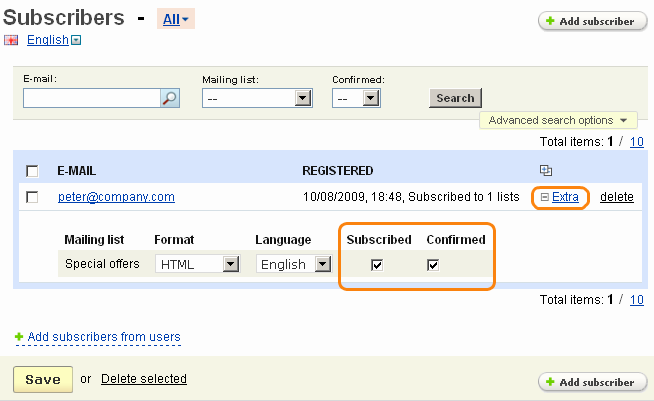
- Or click on the Add subscriber button on the right, fill in the necessary fields in the opened window (select the desired check boxes in the Mailing lists section) and click on the Create button.
|
© 2011 Magicdust Pty Ltd. All rights reserved.